How to update your phone number on your Google account

Shawdesh desk:
Google lets you link your phone number to your Google account, adding an extra layer of security through identity verification. However, if you recently changed your mobile carrier or relocated to a different country, you may need to update the phone number associated with your profile. This article shows you how to do this. The process is similar whether you own a Google Pixel 7, another Android device, an iPhone, or a computer.
Follow these steps on any Android phone to update the phone number connected to your Google account:
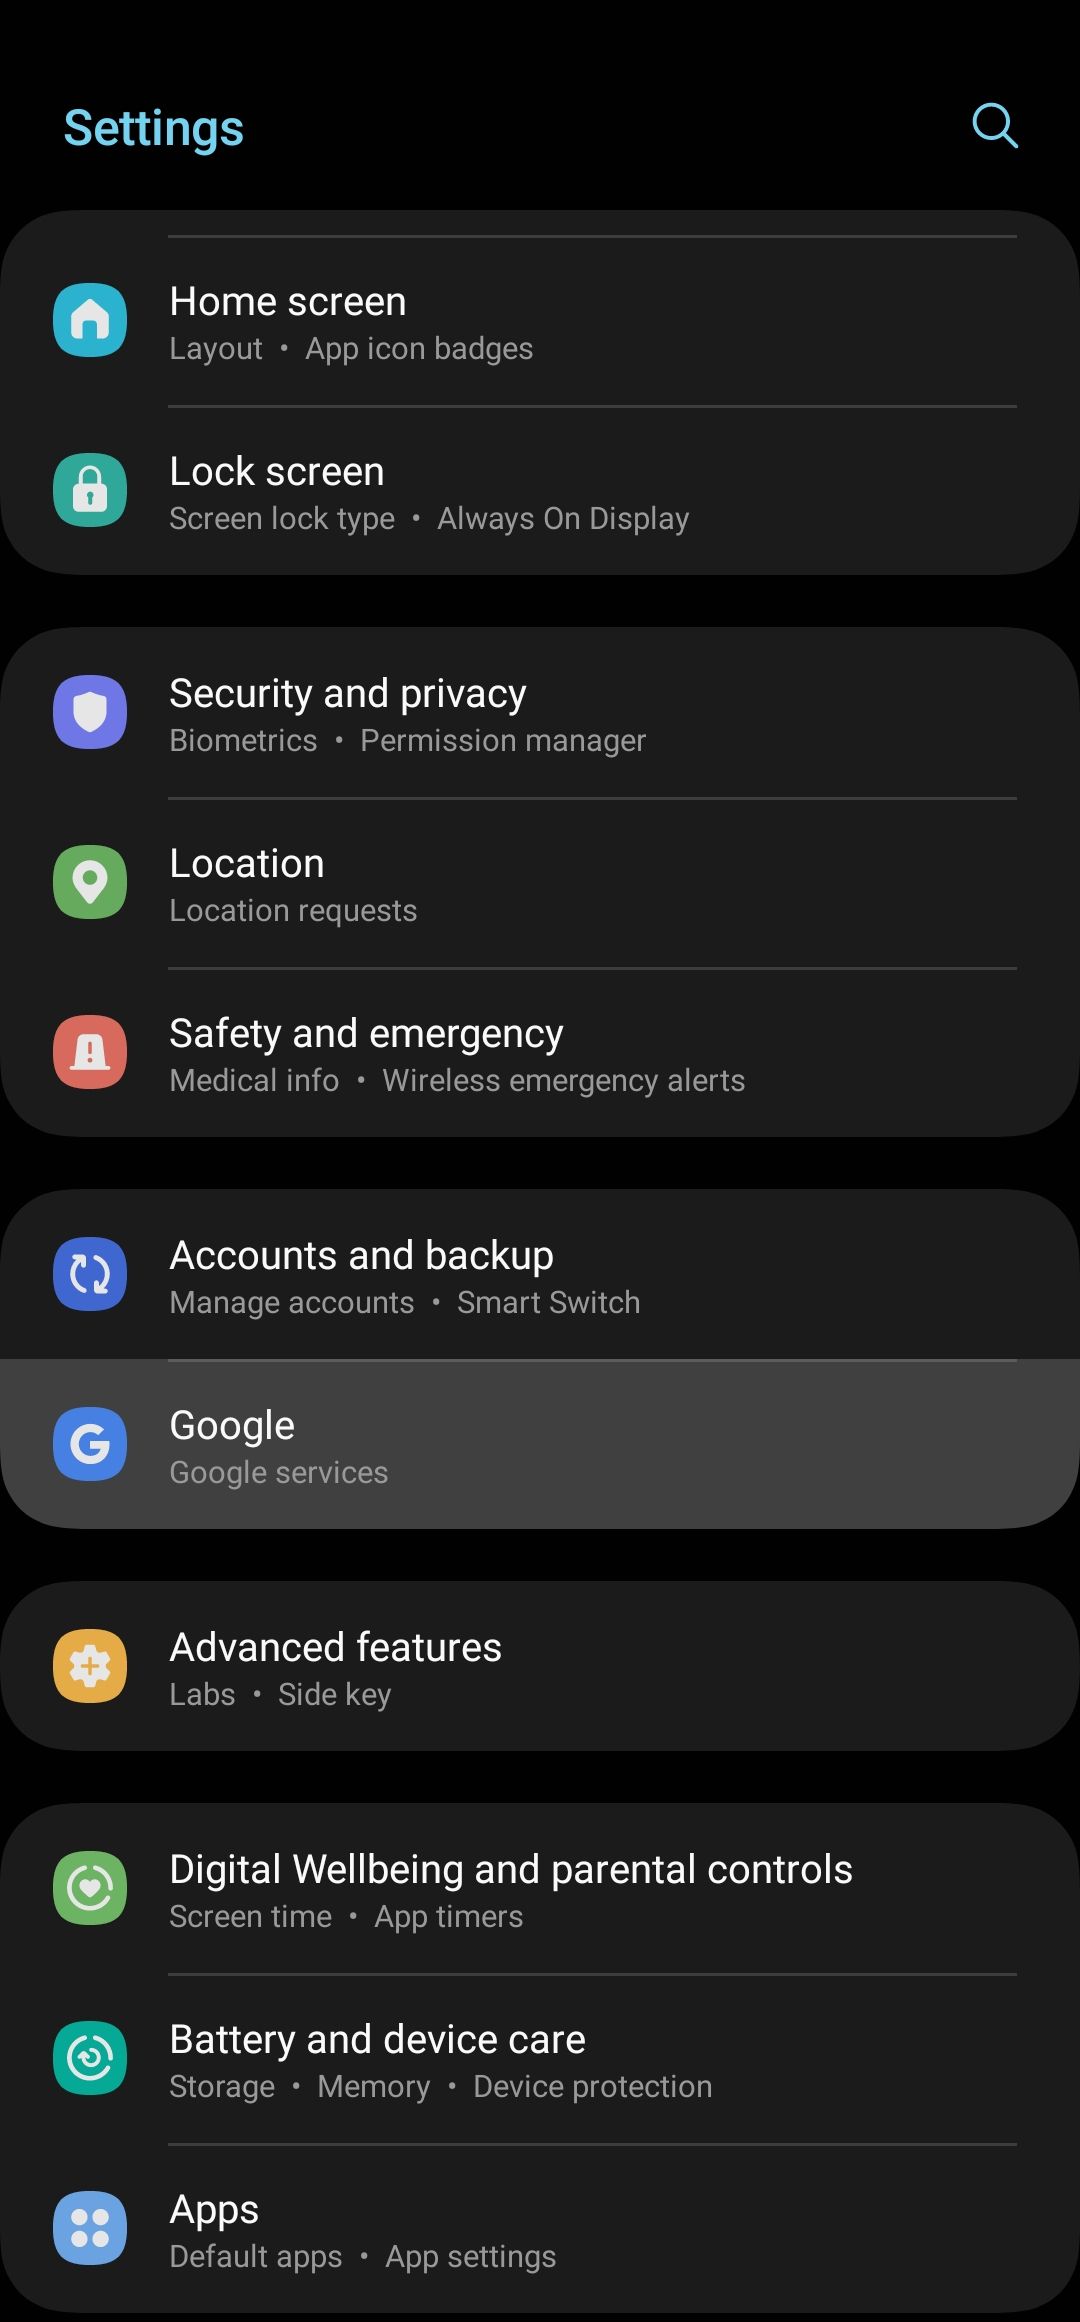
- Launch the Settings app on your device.
- Navigate to and tap Google.
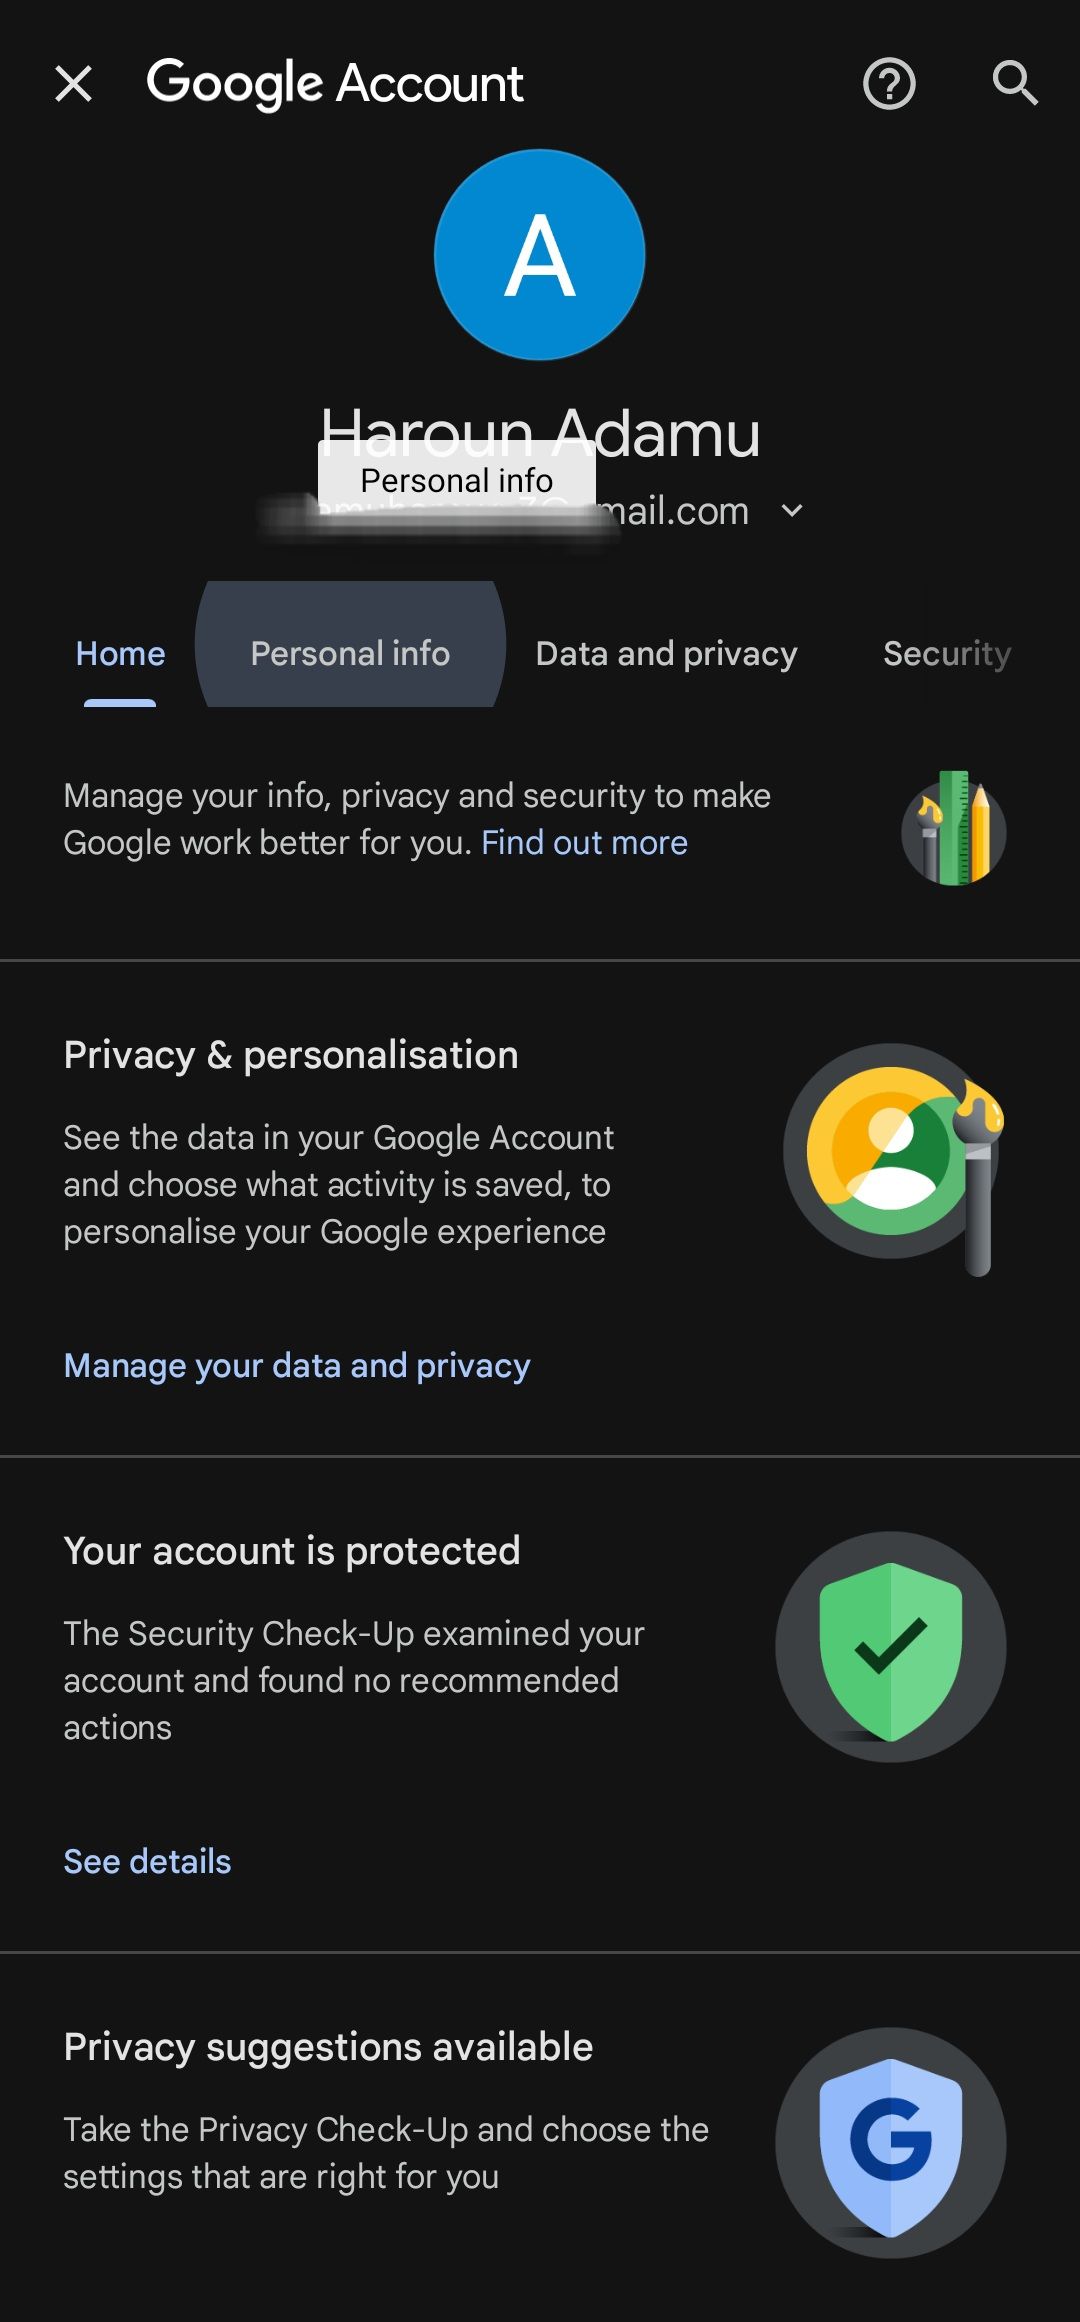
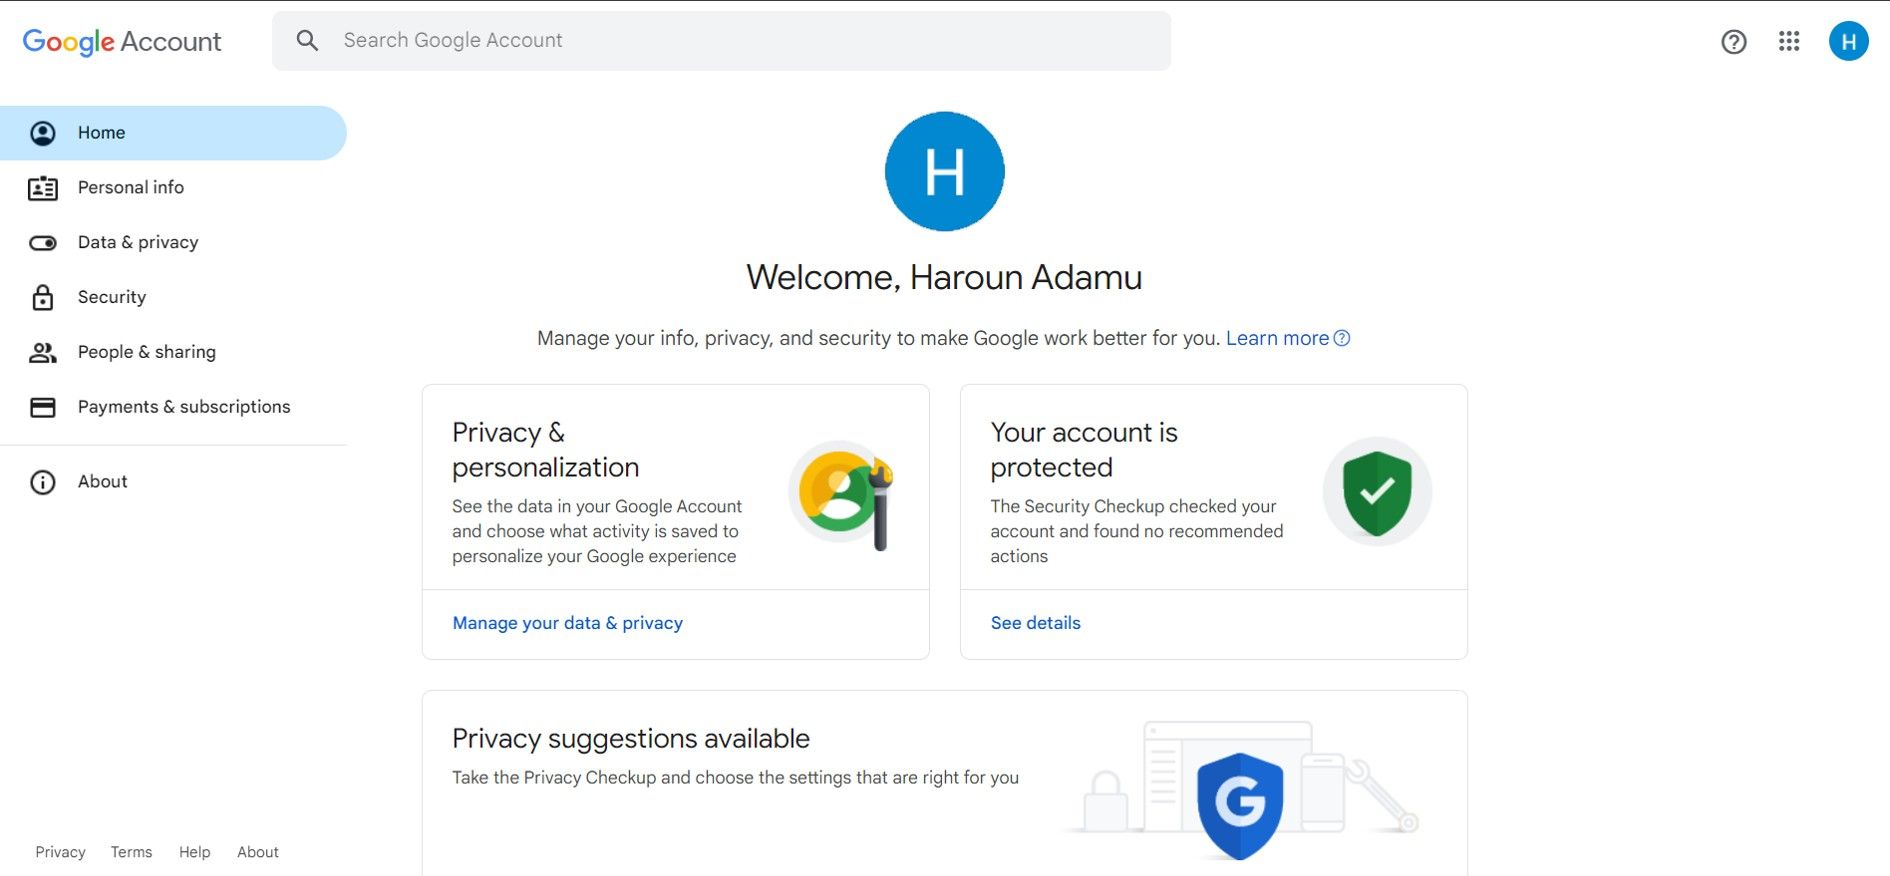
- Tap Manage your Google Account. This opens the Google account settings page.
2 Images
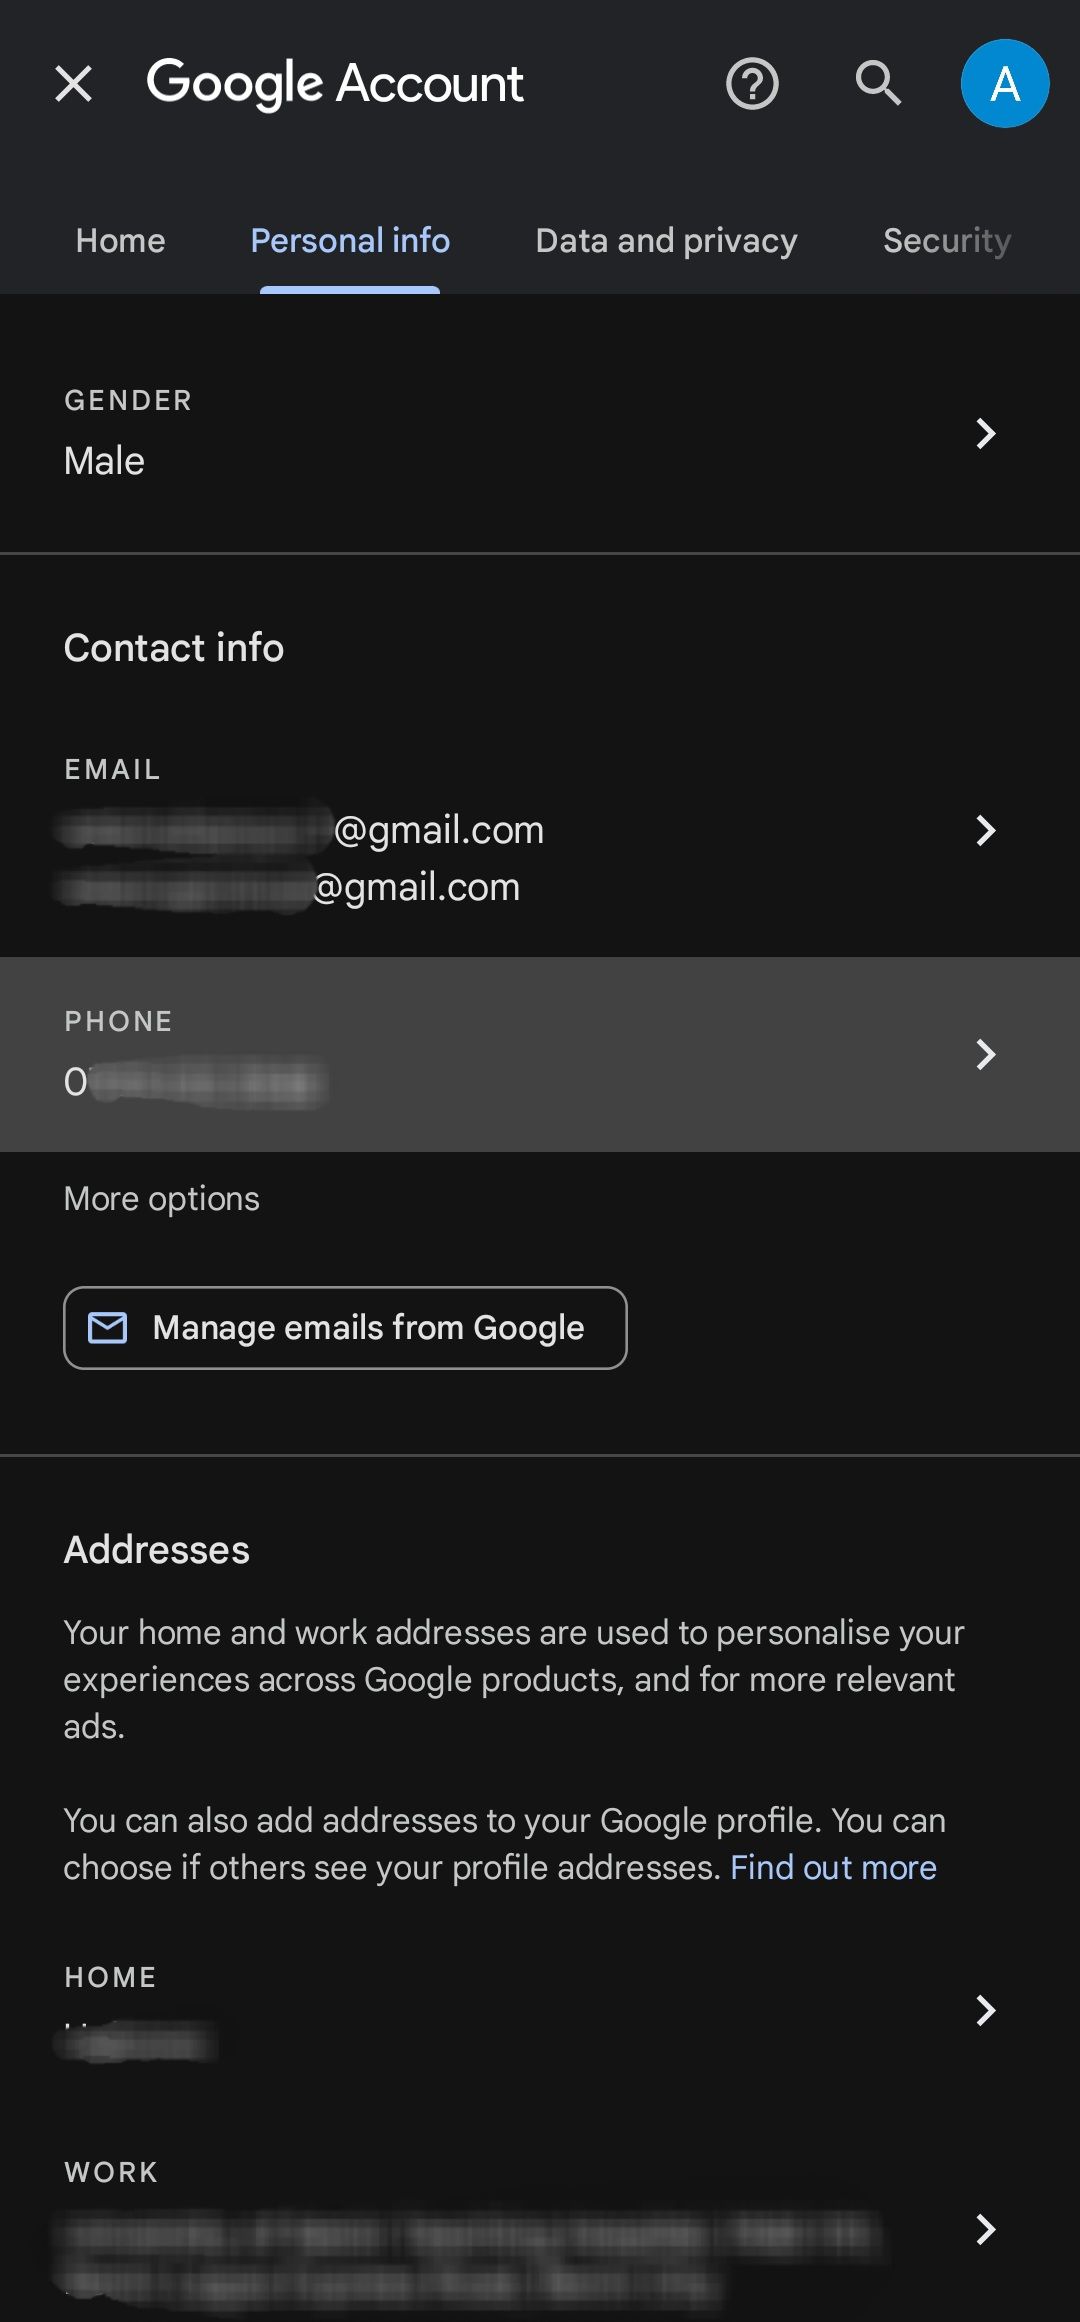
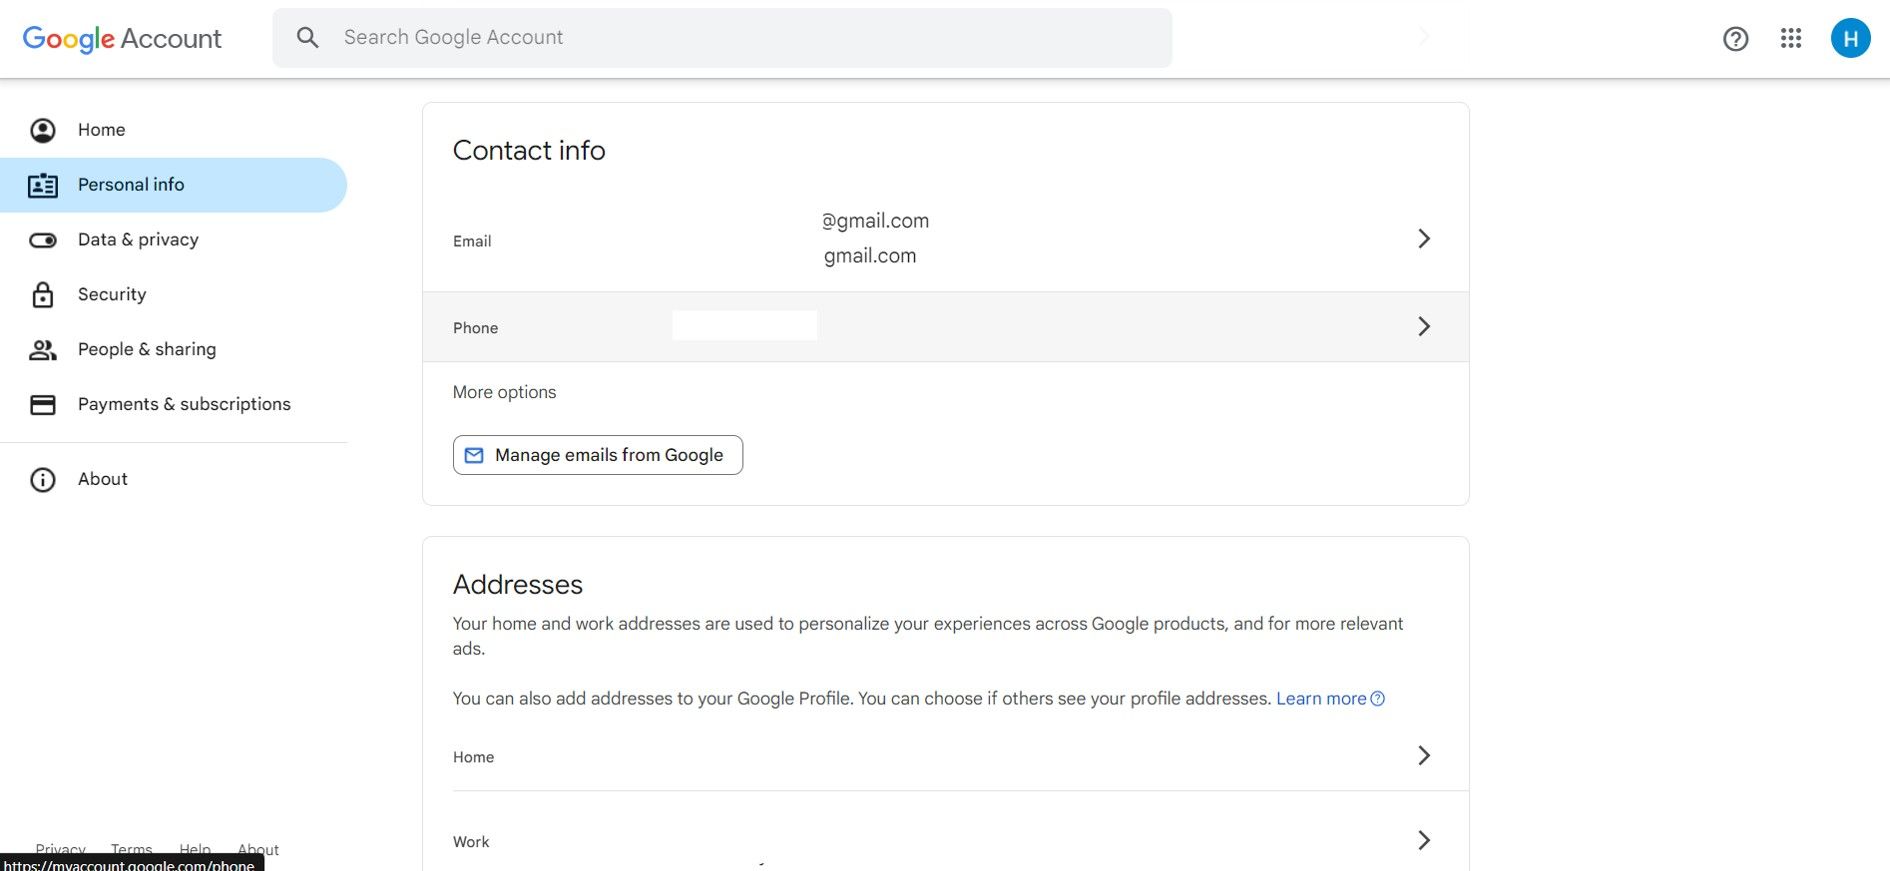
- Go to the Personal info tab at the top.
- Tap Phone under the Contact info section.
2 Images
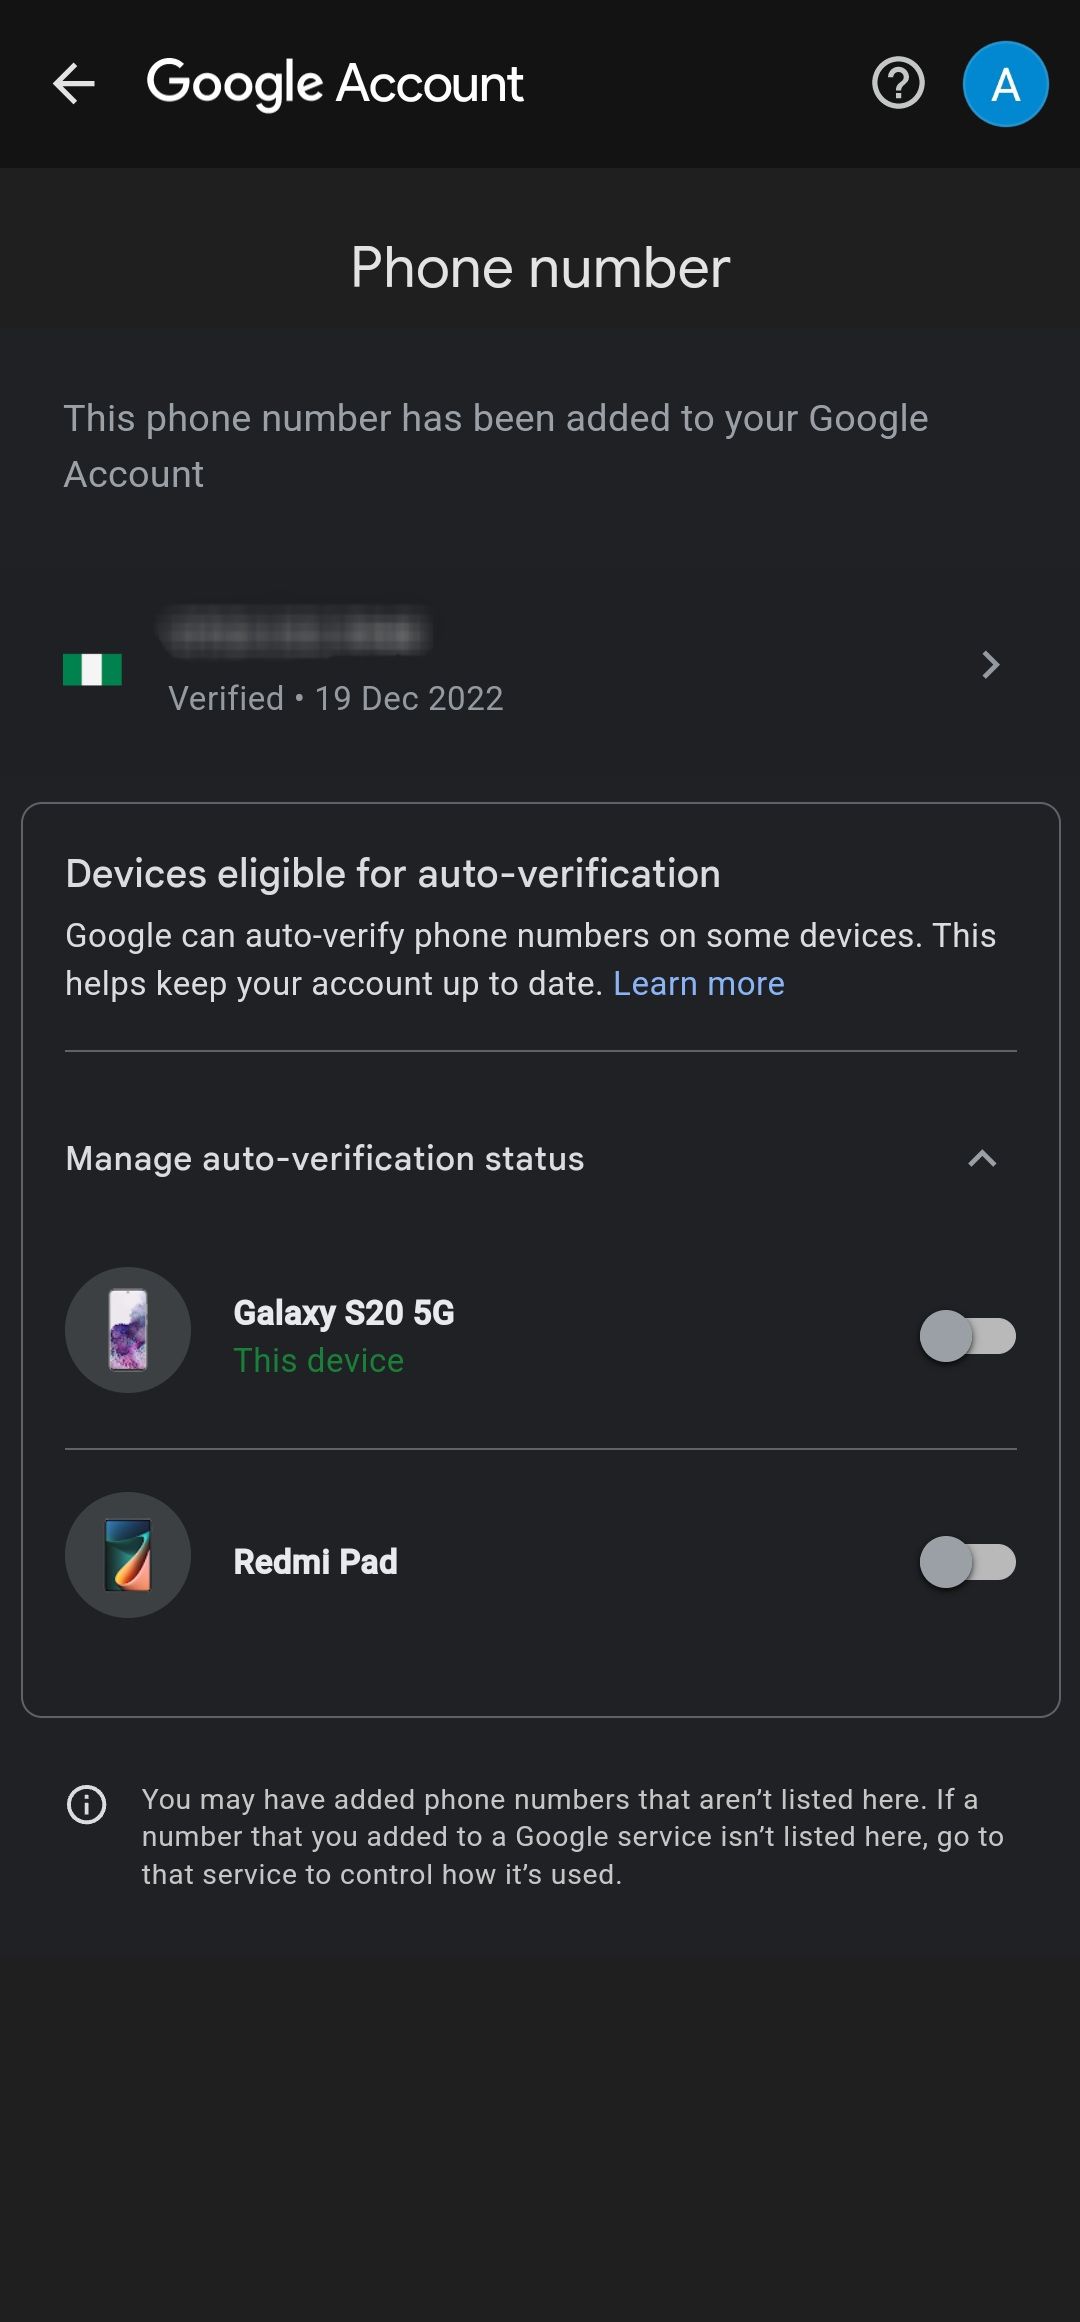
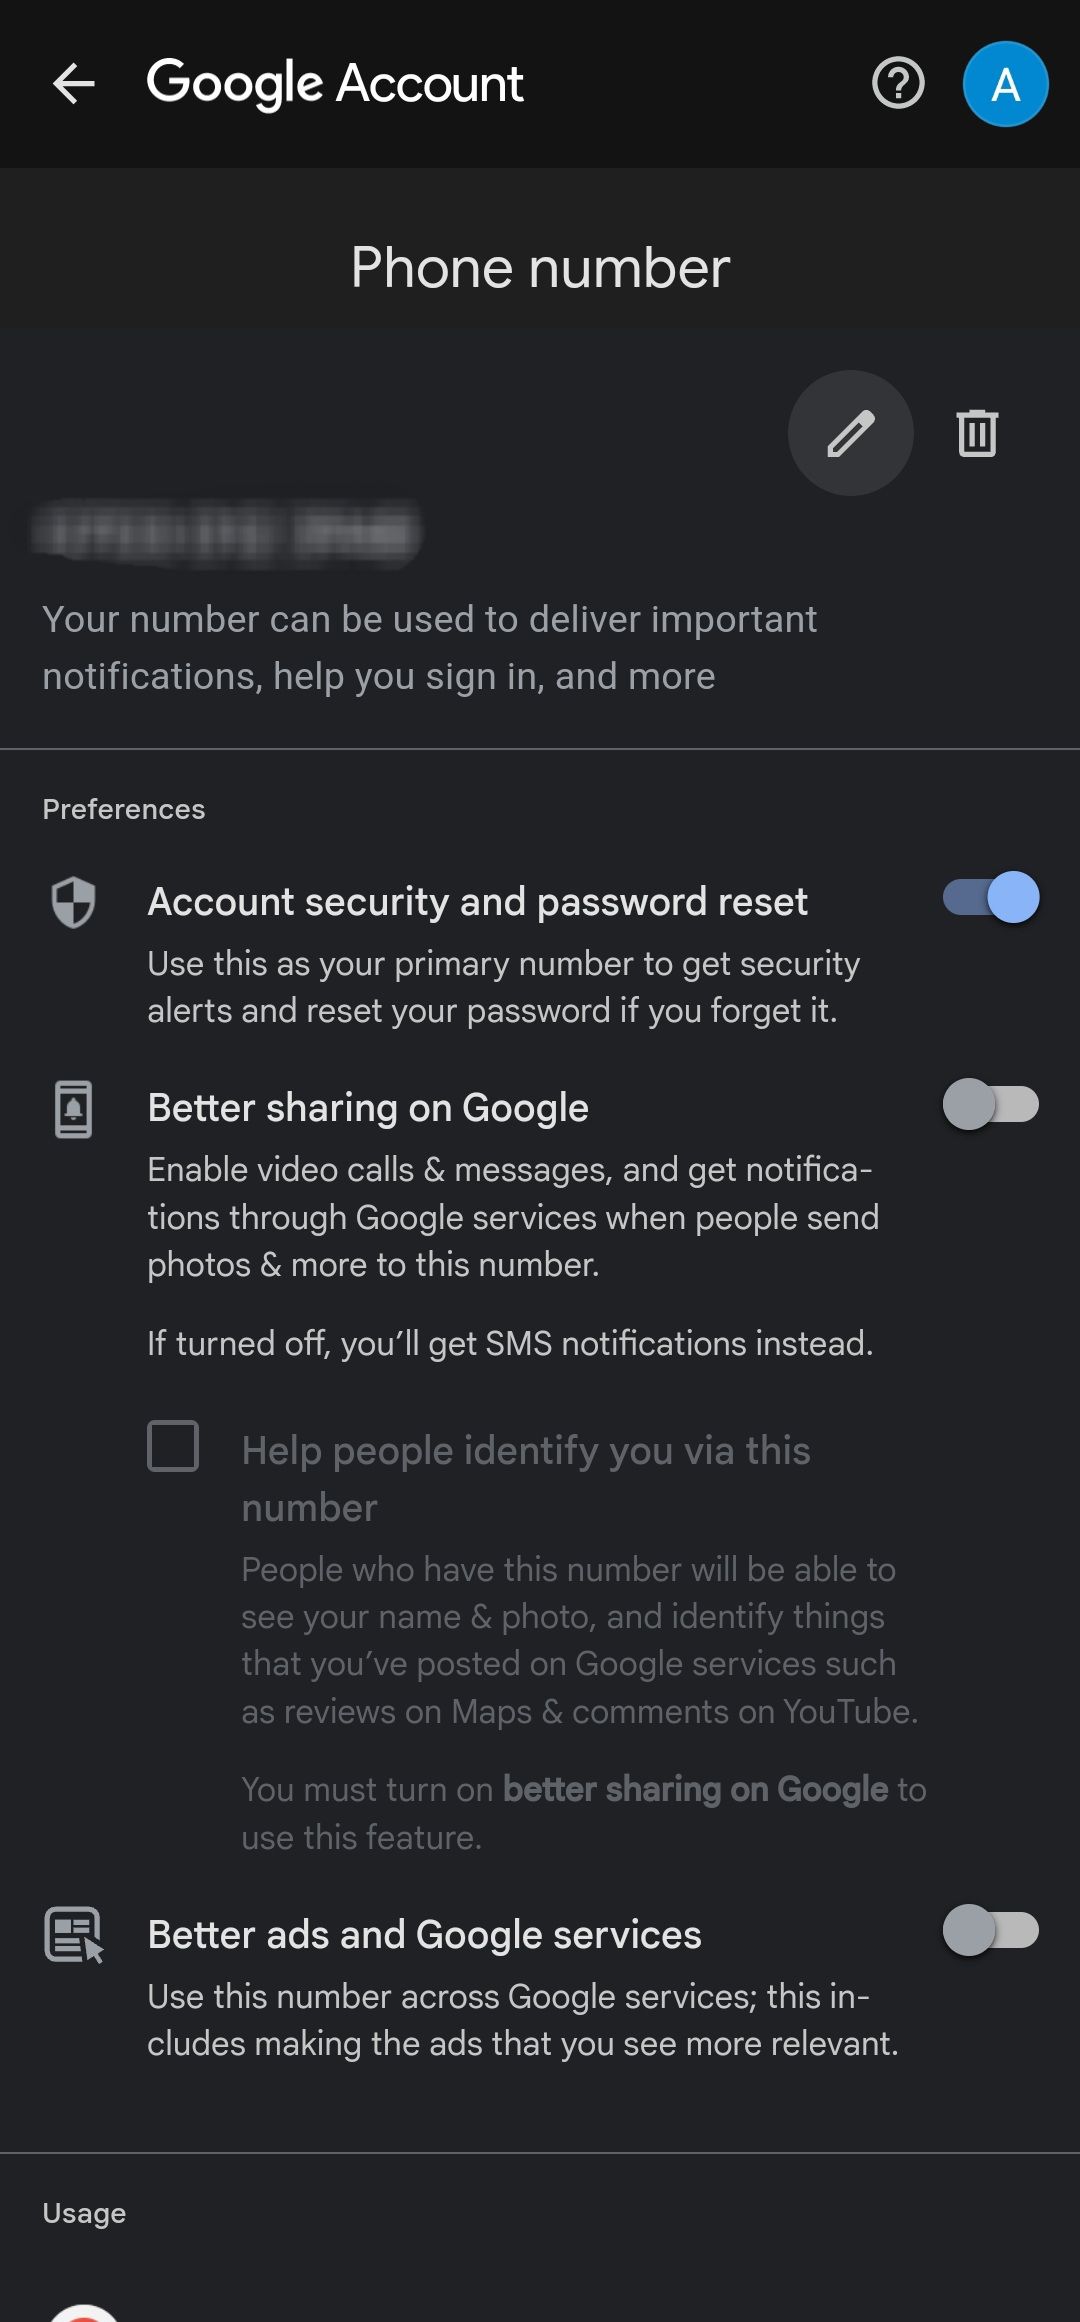
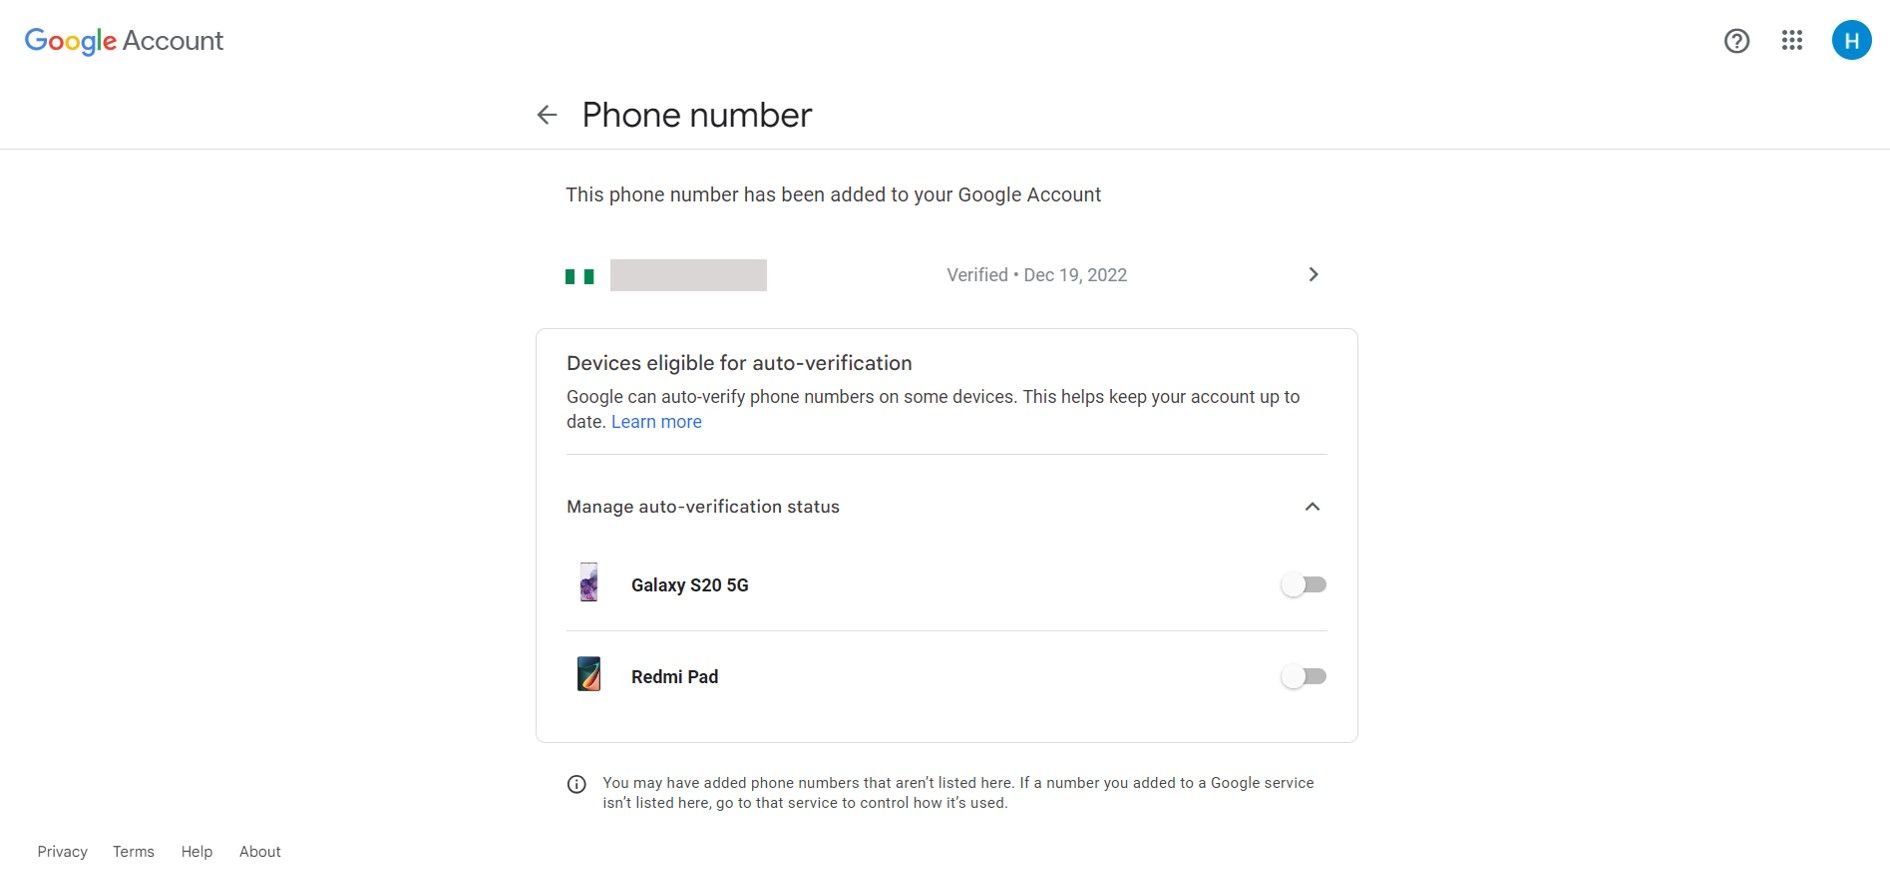
- Tap your phone number.
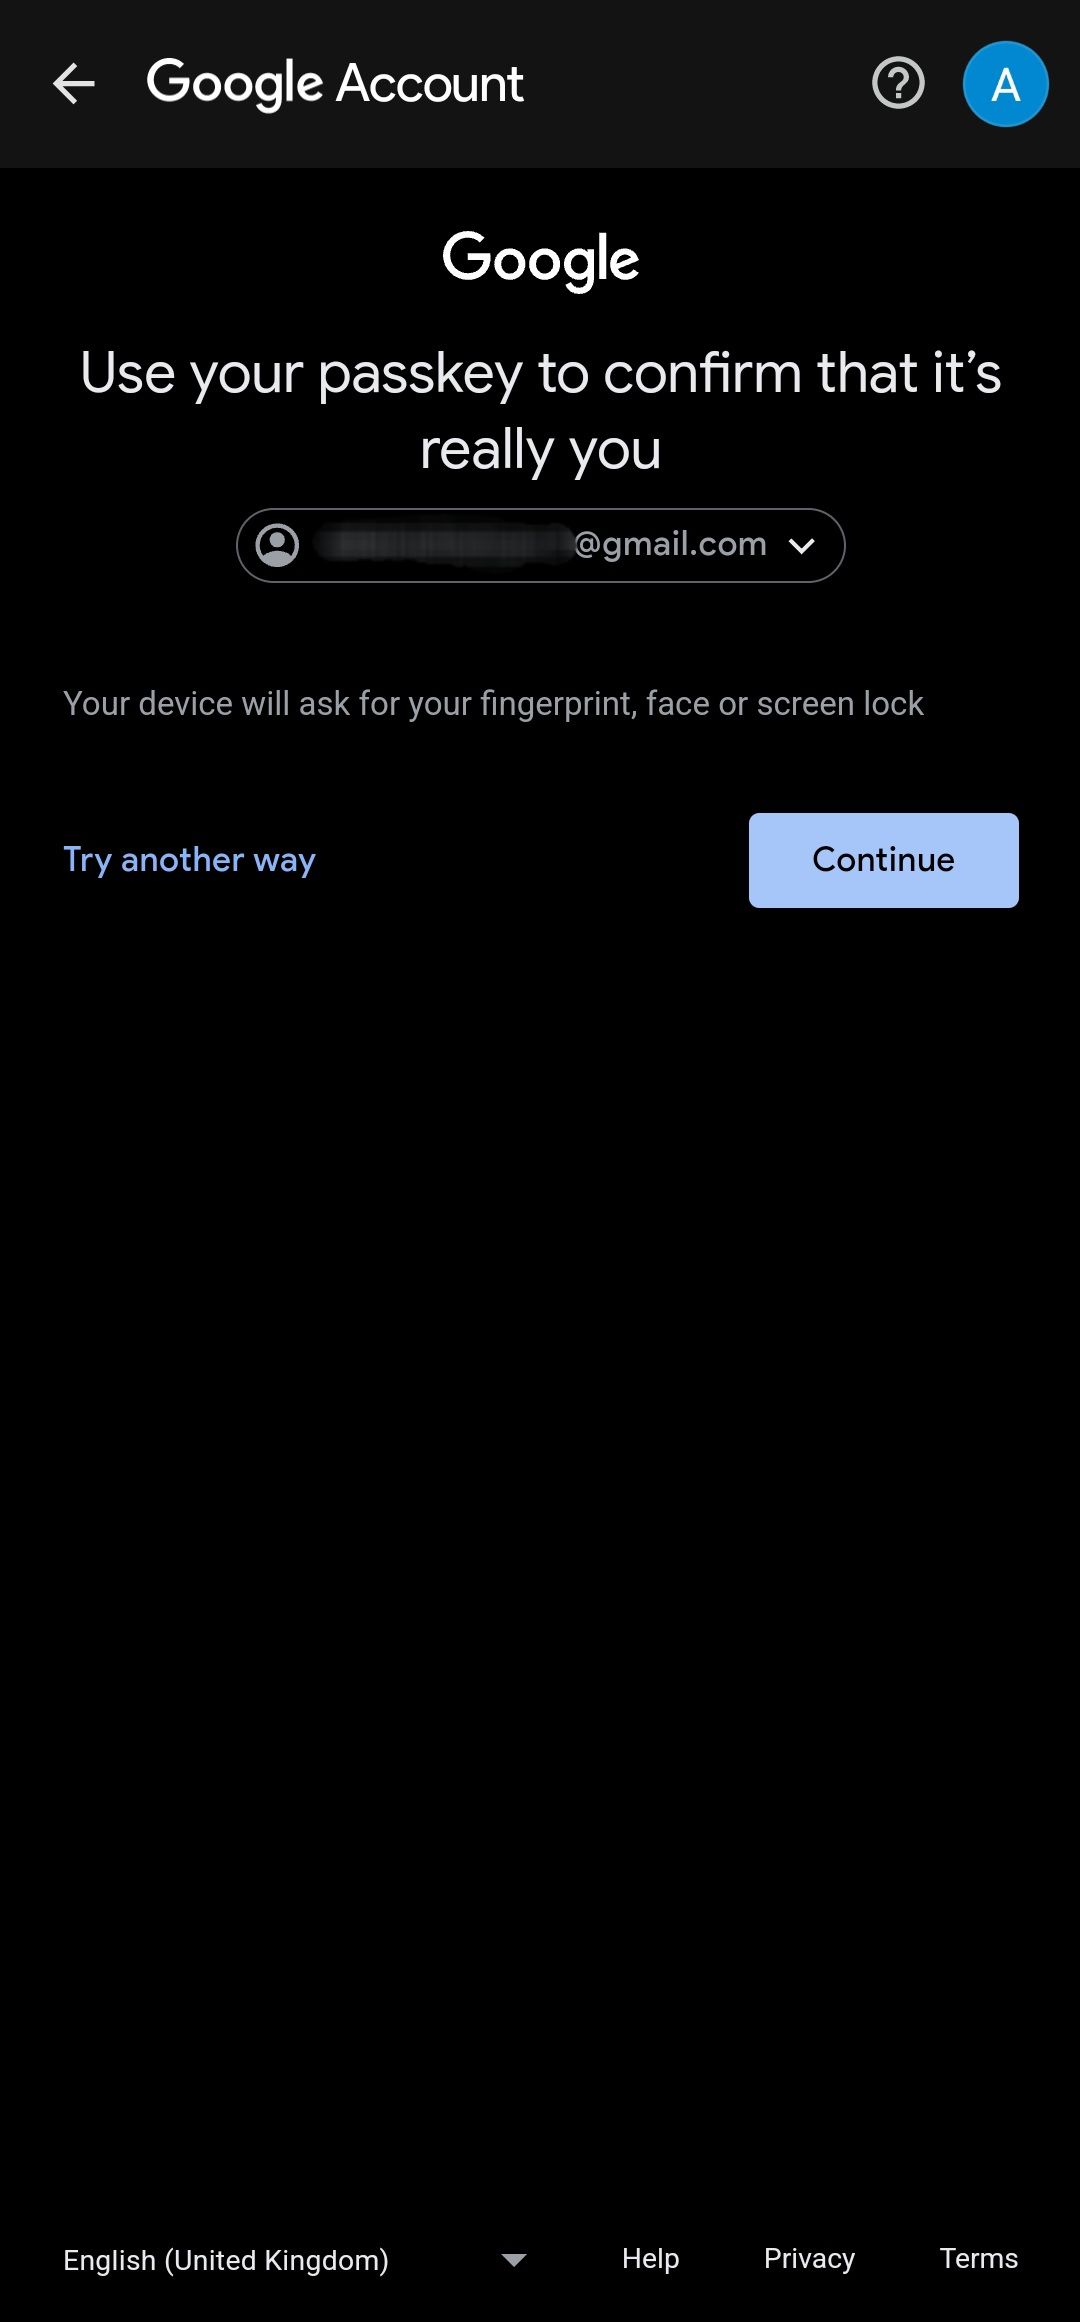
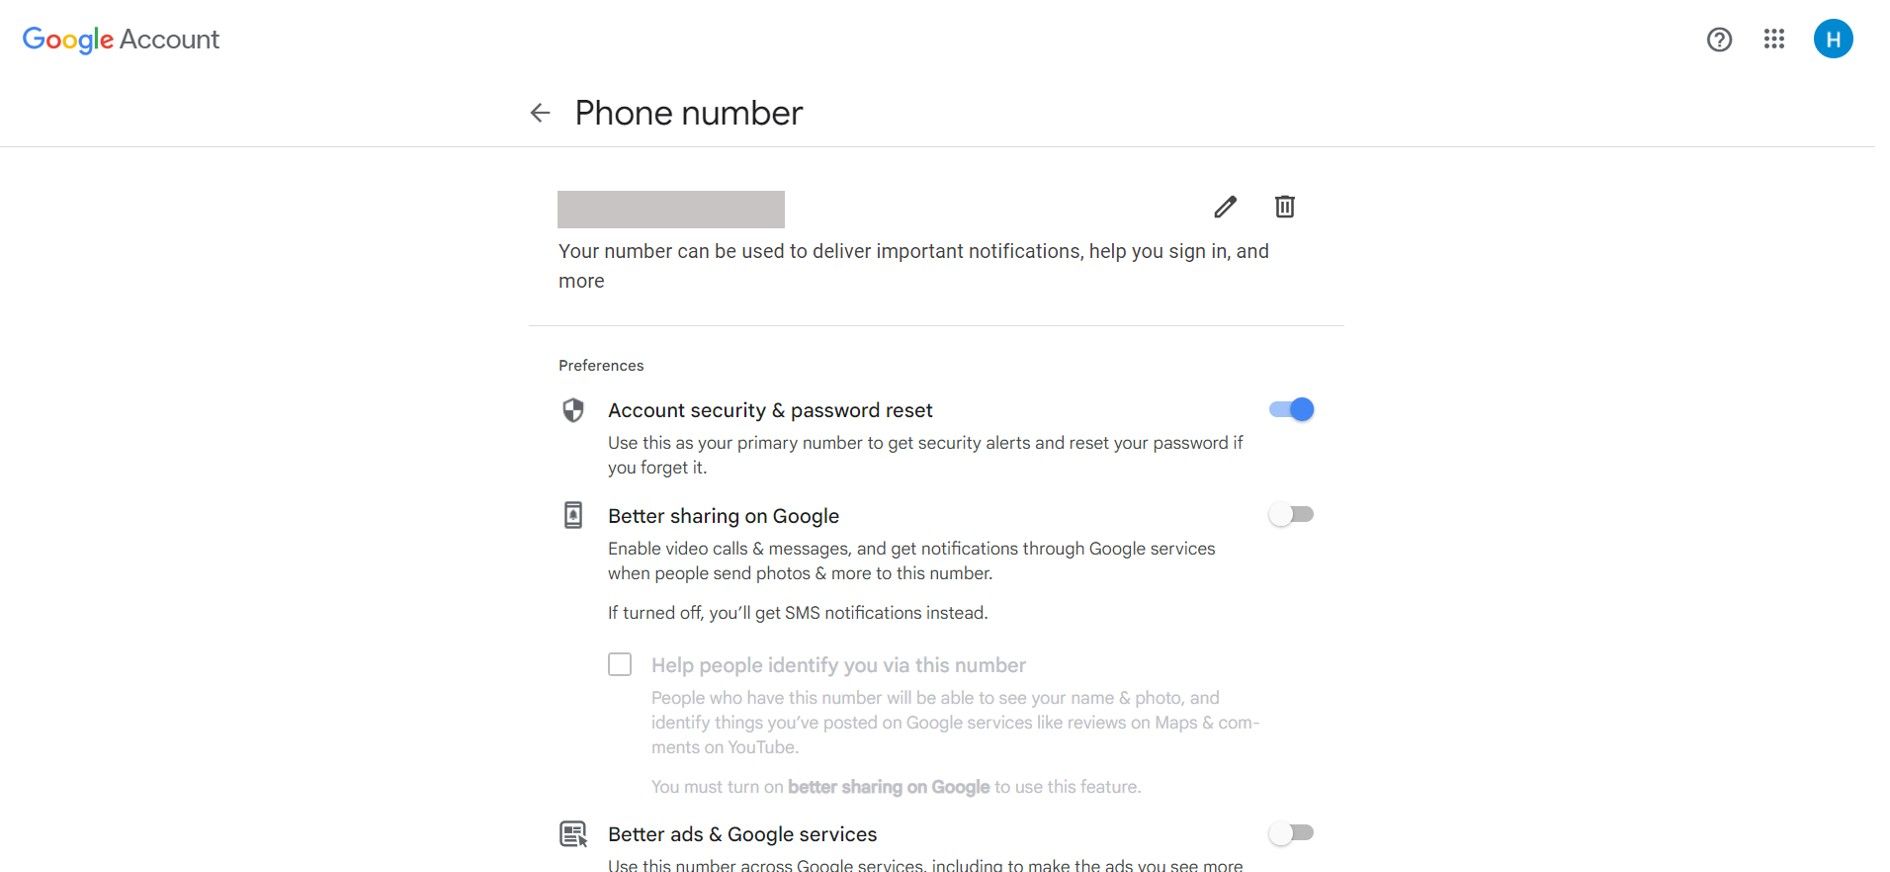
- Select the Edit button next to your number. You’re asked to confirm ownership of the device.
2 Images
- Tap the blue Continue button. You’re asked to unlock your phone using your default screen lock: fingerprint, face ID, or a password.
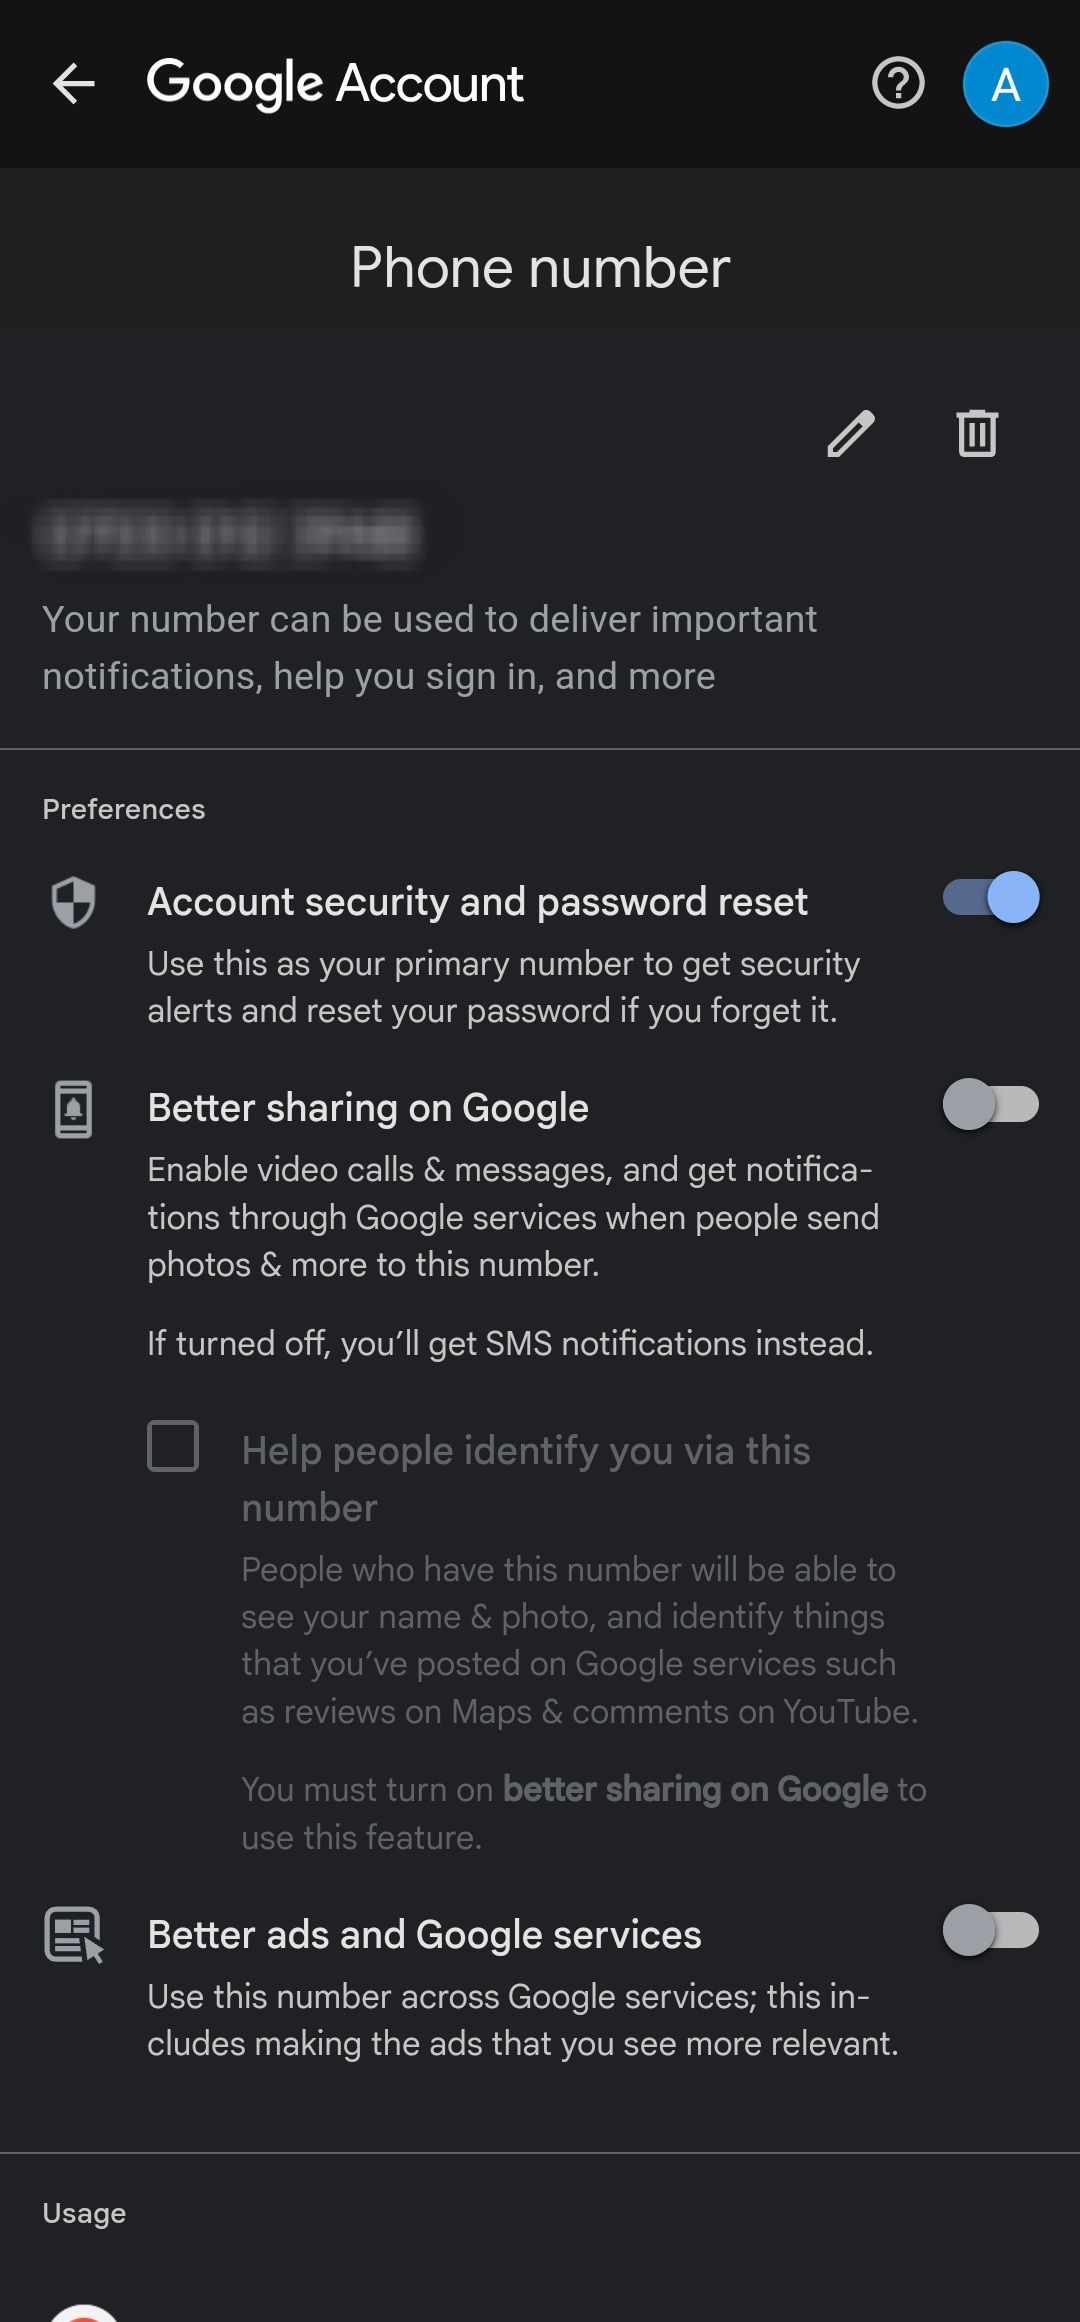
- Unlock your device. You’re taken back to the phone number page.
- Tap the Edit button again.
2 Images
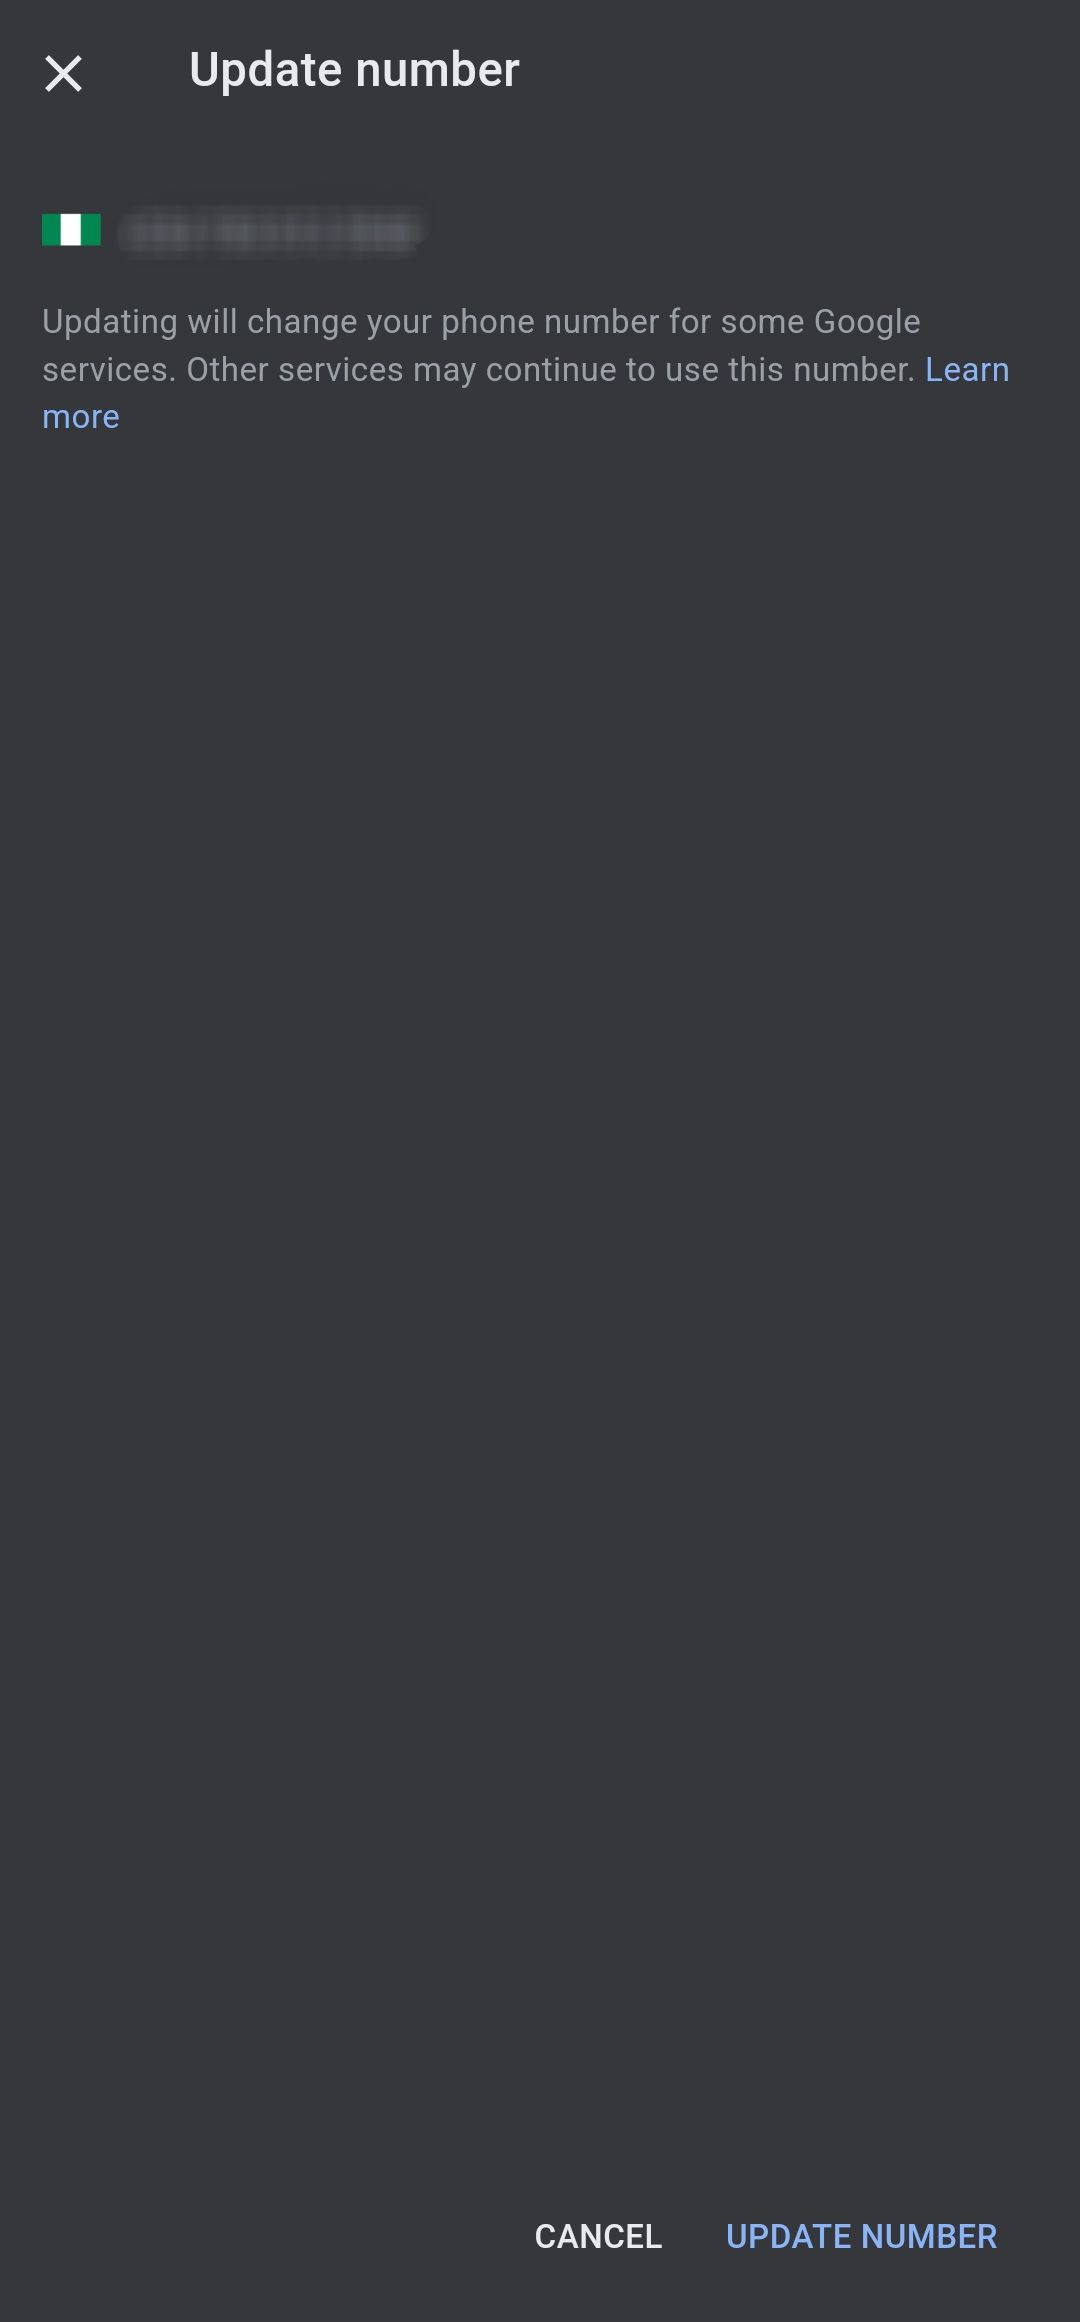
- Select Update number.
- Enter your new phone number.
- Tap Select. The phone number attached to your Google account is updated.
2 Images
How to update your Google account phone number on iPhone and iPad
Updating your Google account phone number on an iPhone is slightly different from Android. These are the steps:
- Open the Gmail app on your iPhone or iPad. Alternatively, go to myaccount.google.com if you don’t use Gmail.
- Tap your profile picture or account initial in the upper-right corner.
- Tap Google Account.
- Switch to Personal info at the top.
- Tap Phone under Contact info.
- Tap your phone number.
- Tap the Edit icon next to the number.
- Follow the instructions. The rest of the process is similar to Android.
How to update your Google account phone number on a computer
Updating your phone number on a computer isn’t much different from a mobile device. Follow these steps:
- Go to myaccount.google.com or access your account through any of the Google services you use.
- Click the Personal info tab on the left sidebar.
- Navigate to Contact info and click Phone.
- Select your phone number.
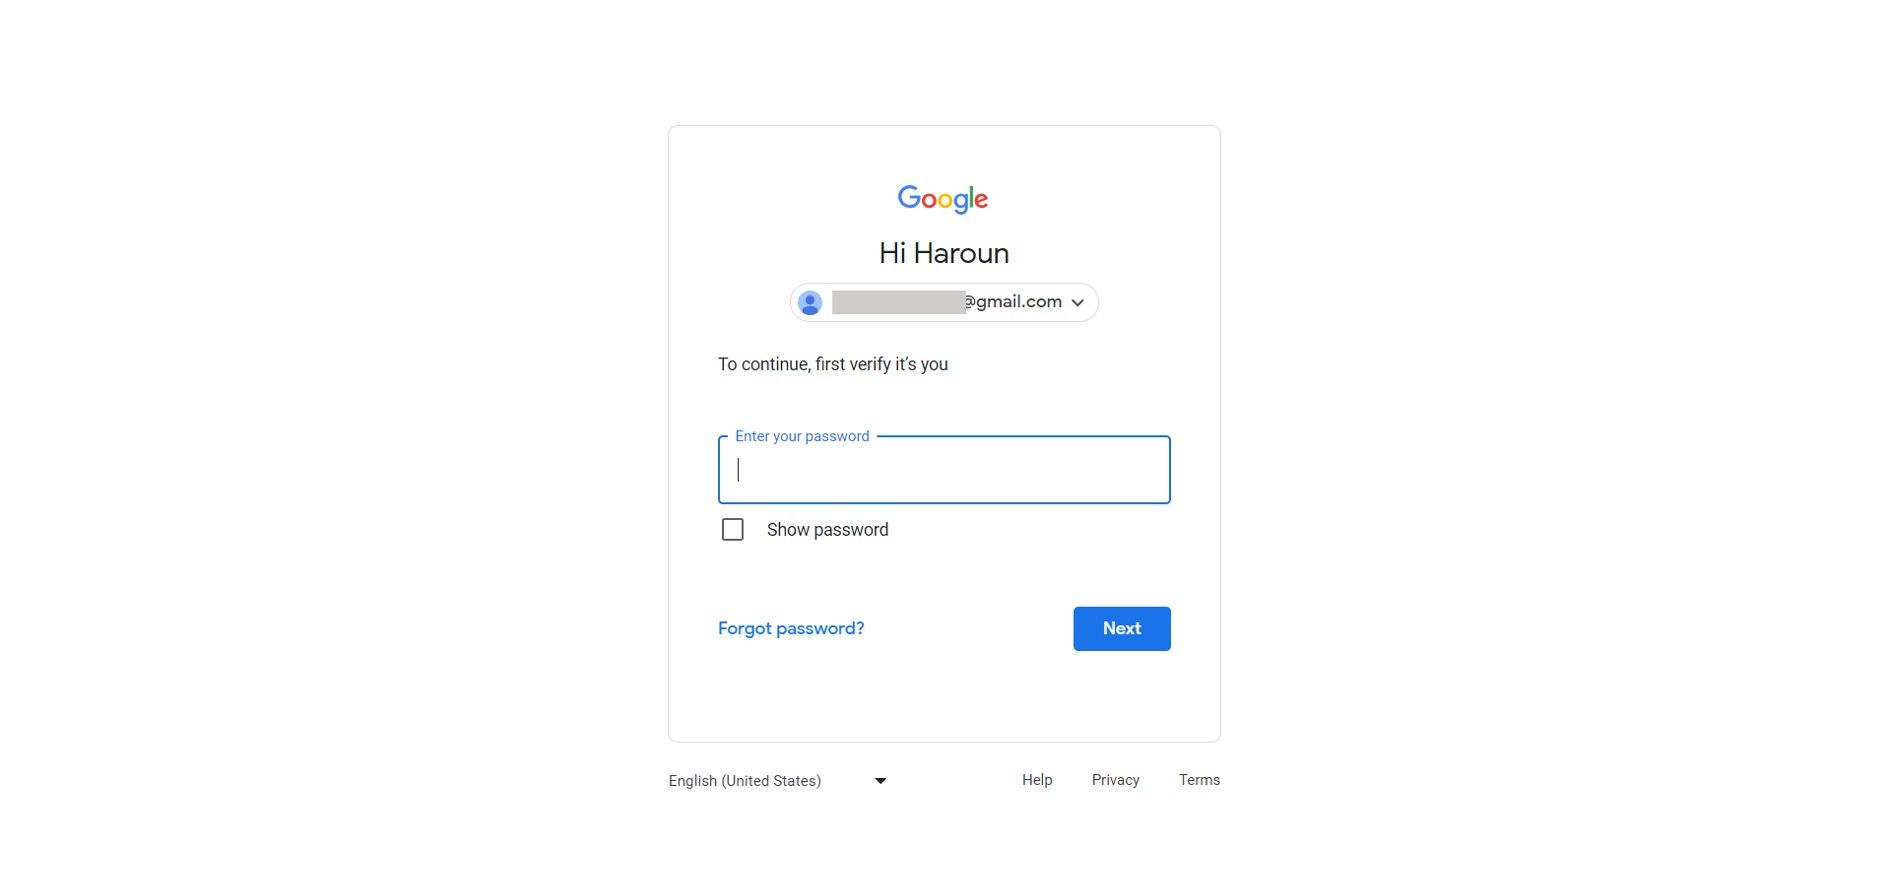
- Click the Edit button next to your number. You’re asked to verify your identity.
- Enter your Google account password and click Next.
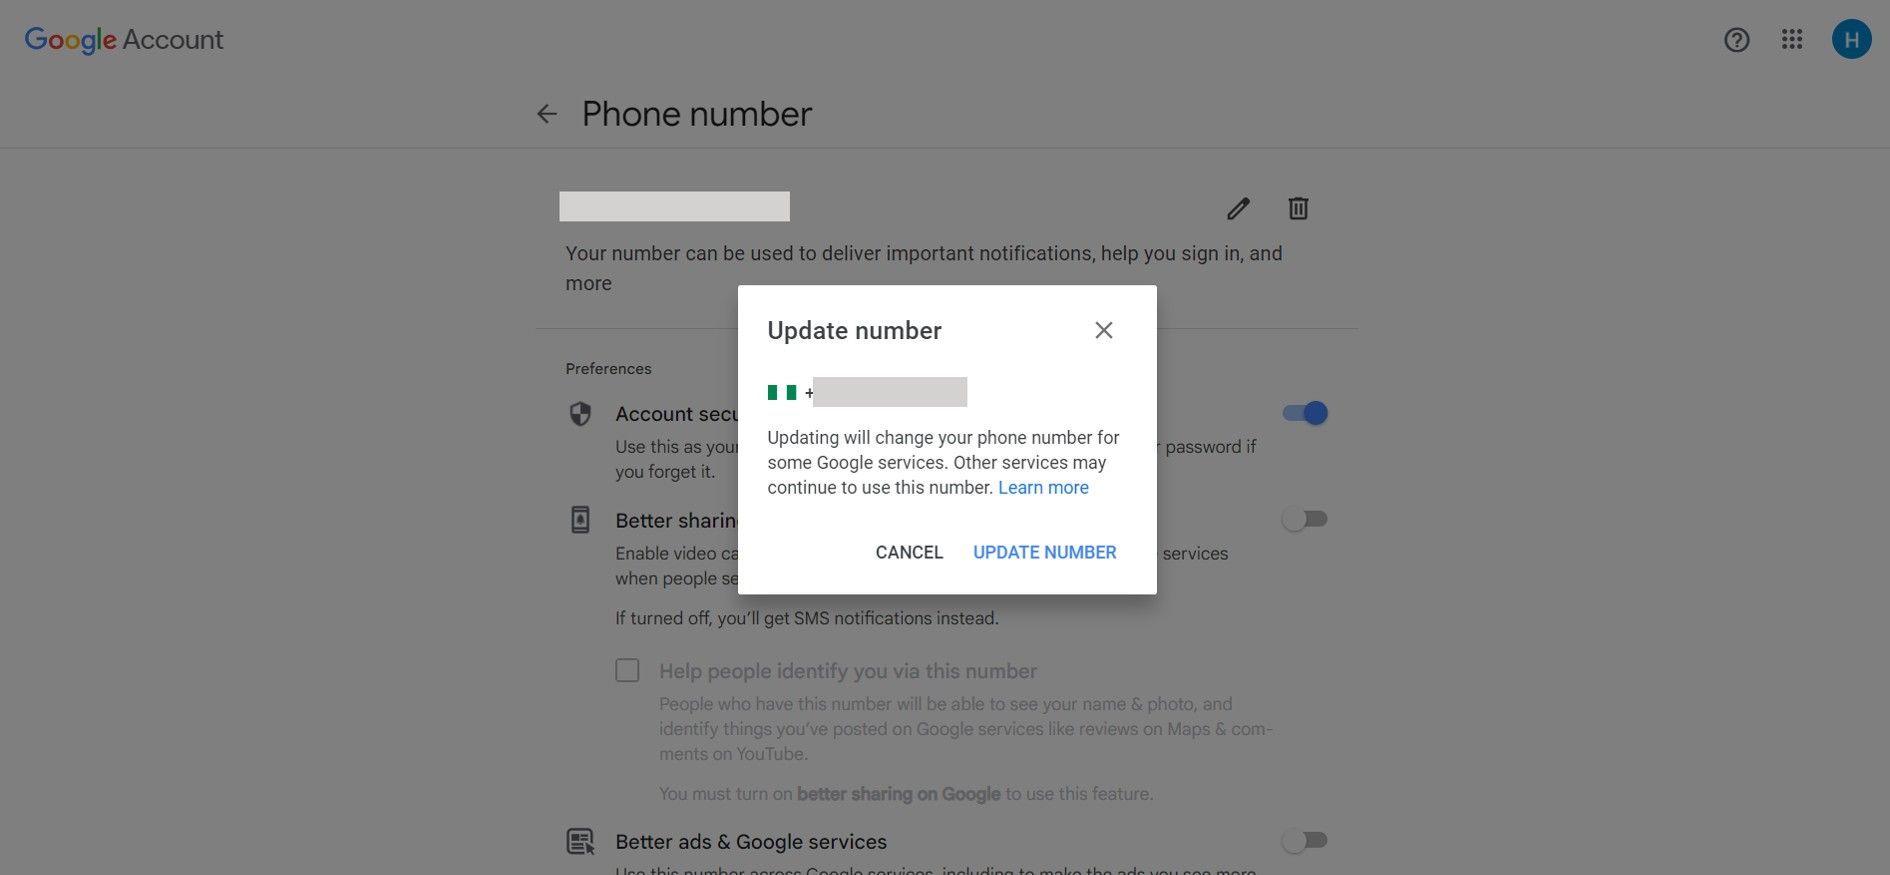
- Click the Edit button again.
- Click Update Number.
- Type your new number and click Select. Your number is updated.
Why is your Google account phone number important?
The phone number linked to your Google account serves several purposes. You can use it to sign in to your accounts on the tech giant’s numerous digital services, receive two-step verification codes, and recover your Google account by receiving a text code to reset your password.
Google uses your phone number to personalize the ads it shows you. You can turn this off by navigating to the Preferences section of the Phone settings and toggling off Better ads & Google services. It also attempts to verify the number once in a while to ensure it’s still yours.
Keep your Google account phone number up to date
Keeping your Google account phone number up-to-date is crucial for security and convenience, especially when it comes to recovering your Google account if you ever get locked out. Follow the processes outlined above whether you use an Android device, an iPhone or iPad, or a computer.






Leave a Reply